Using Pocket SDR Version 0.16 and Later
Introduction
Pocket SDR is an open-source GNSS software-defined radio receiver published on GitHub by Professor Tomoji Takasu, formerly of Tokyo University of Marine Science and Technology. It consists of hardware design documents, firmware, and software. The software has concise, easy-to-understand code and can track and decode a wide range of civilian GNSS signals, including the latest signals. It runs on Windows, Linux (including Raspberry Pi OS), and macOS.
Starting with version 0.16, Pocket SDR supports hardware such as USRP, LimeSDR, bladeRF, PlutoSDR, and RTL-SDR through SoapySDR, in addition to the Pocket SDR front end (FE). Instructions for using these devices are available in the official README.md.
Newer versions offer faster processing, support more signals for analysis, and work with more hardware. I therefore decided to upgrade from an older version. The version used in this article is 0.20.
Windows
To use the newly supported hardware, you need SoapySDR along with the drivers and modules for each device. On Windows, installing radioconda provides a software-defined radio environment that includes SoapySDR.
The Pocket SDR bin directory contains precompiled binaries. Here, I use binaries that depend on the SoapySDR DLL (dynamic-link library). After installing radioconda, open its command prompt from the radioconda folder in the Start menu and run the binaries there.
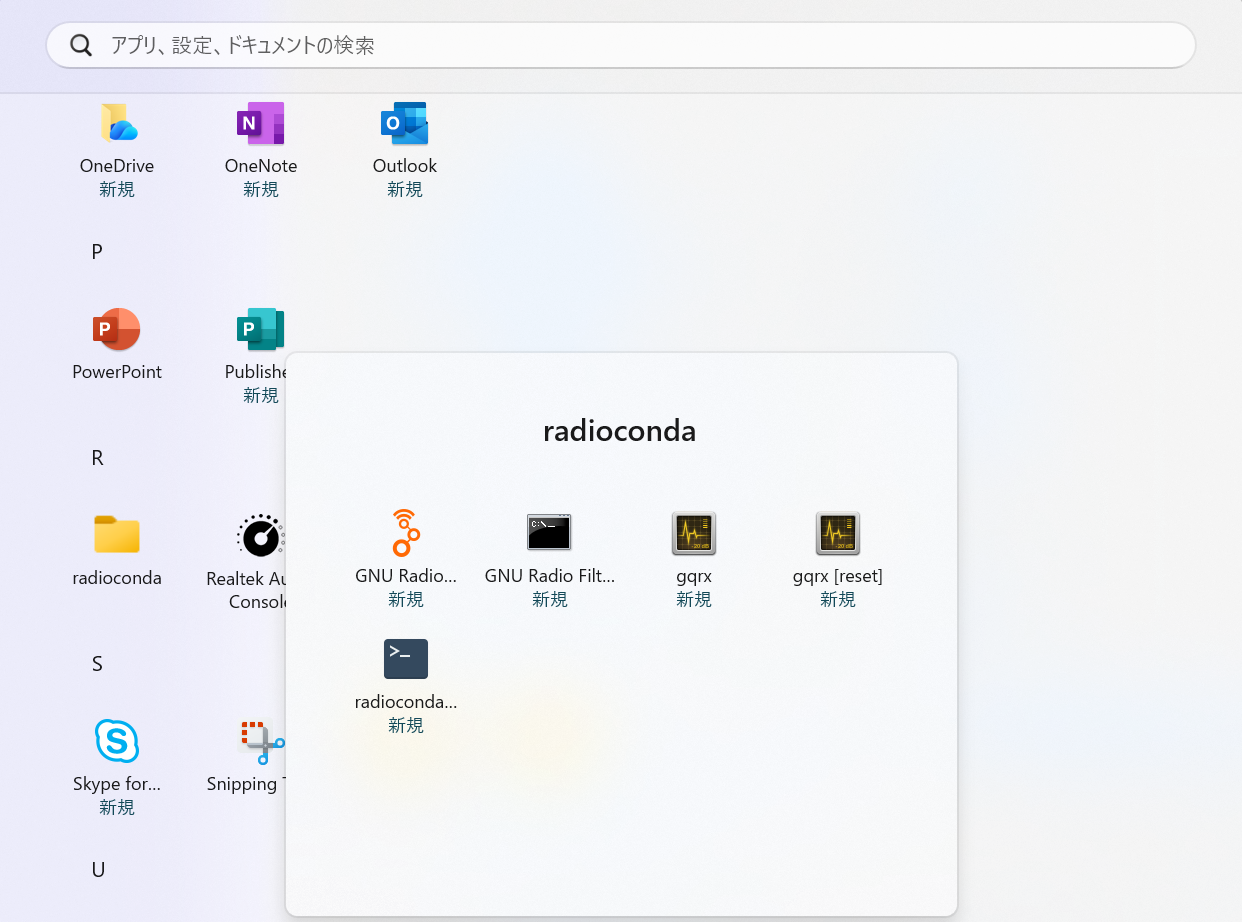
In this command prompt, the prompt looks like (base) C:\Users\.... You can run binaries such as pocket_trk from here. When entering a long filename, type the first few characters and press Tab to complete the rest.

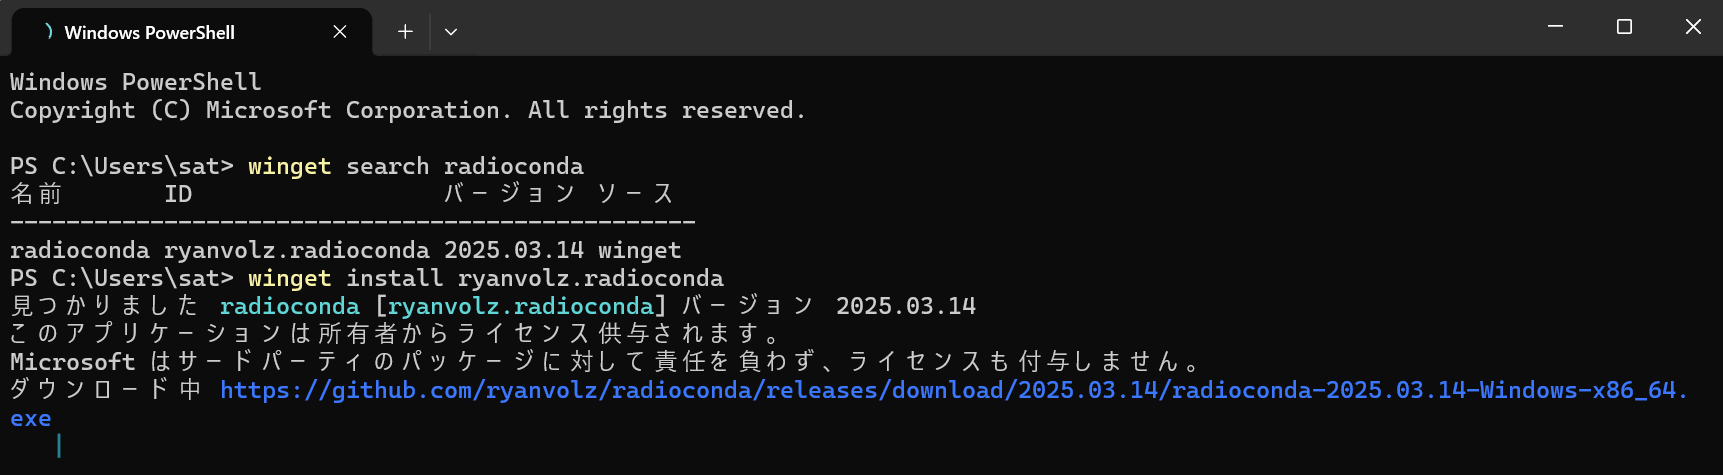
You can install radioconda by downloading the installer and double-clicking it. I describe an alternative method using the Windows package manager winget in Building a Software-Defined Radio Environment with radioconda.
Linux and Raspberry Pi OS
To use Pocket SDR on Linux or Raspberry Pi OS, you need to compile the software yourself. The instructions are provided in the Pocket SDR README.md. On Debian-based Linux distributions, you can install SoapySDR through apt as well as through radioconda. I describe a setup intended for headless operation (without a monitor or keyboard connected) in Building a Software-Defined Radio Environment with radioconda.
If you only use the Pocket SDR FE or analyze previously recorded data, you can build the software with SoapySDR support disabled. USE_SOAPY is a build option that controls SoapySDR support, rather than radioconda itself. Passing USE_SOAPY=0 to make produces binaries that do not depend on SoapySDR.
I followed the steps below on Debian. First, install the development tools and libraries with administrator privileges.
apt update
apt install git gcc g++ make libusb-1.0-0-dev libfftw3-dev
Next, obtain the Pocket SDR source code. From its root directory (the directory containing lib and app), run the following commands as a regular user.
cd lib/build && make USE_SOAPY=0 && make USE_SOAPY=0 install && cd ../..
cd app && make USE_SOAPY=0 && make USE_SOAPY=0 install && cd ..
If you change the build settings in a source tree that has already been built, run make clean in each build directory before rebuilding.
The && operator runs the next command only if the preceding command succeeds. Unlike commands separated by ;, if a command fails, the remaining commands on the same line are not executed. The generated binaries are placed in the bin directory.
macOS
On macOS, you need to compile the software, just as on Linux. Building with USE_SOAPY=0 produces binaries that do not depend on SoapySDR. A compiler is installed as part of the Homebrew setup, so installing the additional libusb and fftw packages, as described in the Pocket SDR README.md, provides the development environment and libraries you need.
To use the newly supported hardware, set up an environment that includes SoapySDR. I describe how to install radioconda in Building a Software-Defined Radio Environment with radioconda.
I use macOS for both work and hobbies, but I have yet to start using GNU Radio regularly. I found it somewhat inconvenient to run conda activate base every time I wanted to use Pocket SDR. I therefore built binaries that do not depend on SoapySDR and use rsync to copy them to the Macs I regularly use.
Conclusion
Pocket SDR version 0.16 and later support more hardware through SoapySDR. radioconda is one way to set up the environment needed to use these devices.
If your goal is to use the Pocket SDR FE or analyze previously recorded data, building with USE_SOAPY=0 produces binaries that do not depend on SoapySDR. I use this approach on both Linux and macOS.
Related article(s):
- Building a Software-Defined Radio Environment with radioconda 19th September 2026
- Awesome Pocket SDR (Effective use of configuration files) 30th April 2025
- Pocket SDR captured data 25th April 2025
- Awesome Pocket SDR (realtime positioning function) 13th October 2024
- Galileo E6B signal reception with Pocket SDR, a open source software-defined radio 27th January 2023
- Failure in reflow soldering 19th January 2023
- Pocket SDR hardware production (part 3) 30th September 2022
- Pocket SDR hardware production (part 2) 14th September 2022
- Pocket SDR hardware production (part 1) 4th September 2022
- Awesome PocketSDR (order of hardware parts) 9th April 2022
- I want to use bladeRF with PocketSDR AP, part 2 16th March 2022
- I want to use bladeRF with PocketSDR AP 5th March 2022
- Awesome PocketSDR (snapshot positioning) 23rd February 2022
- Awesome PocketSDR (reducing processing time with FFTW) 19th February 2022
- Awesome PocketSDR (L6 band signal decode) 19th January 2022
- Awesome PocketSDR (pocket_trk) 28th December 2021
- Awesome PocketSDR(pocket_acq) 4th December 2021