Teleprompter prototype using Raspberry Pi
Introduction
Due to the spread of epidemics, online presentations have become more common. Since my computer screen and the camera are far apart, I tend to look down when I look at the screen and talk. It is unnatural. Therefore, I want to give a presentation looking at the camera.
Using a half mirror makes it possible to match the image position with the camera position. Such a device is called a teleprompter or prompter, and is often used in television news programs. I would like to make this teleprompter by myself.
Equipment
The equipment used here is as follows.
- Raspberry Pi 3 model B (Raspberry Pi 64 bit bullseye OS)
- Raspberry Pi Official Touch Display
- Raspberry Pi Camera Module V1.2 (the last V3 one would work file)
- Extension ribbon cable for Raspberry Pi camera 610 mm
- teleprompter kit
- 5 volt PoE(Power over Ethernet)adapter and PoE hub
PoE enables operation with a single Ethernet cable.
Mirror image display
The image on the teleprompter must be a mirror image (mirror text with left and right reversed).
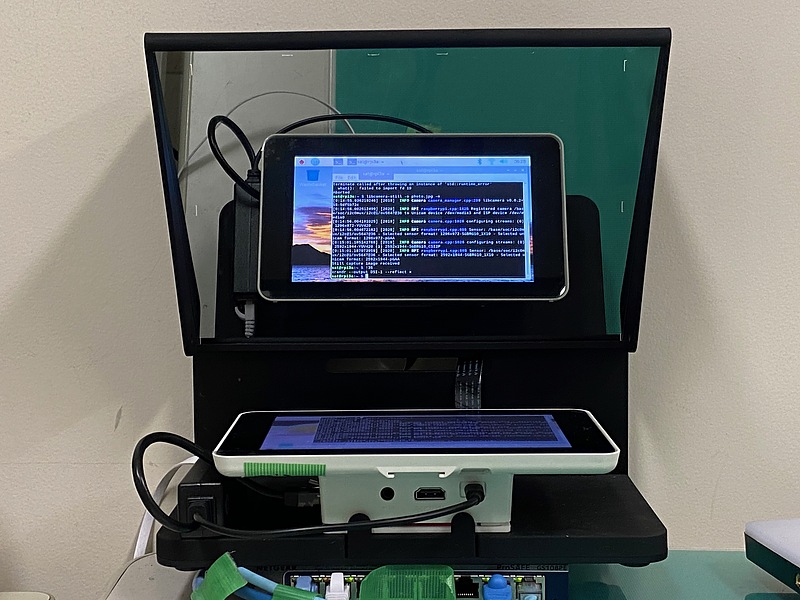
However, when I started it with the latest Raspberry Pi OS (Bullseye), the image of the official touch display was displayed upside down, and I suddenly got stuck.
Various web pages have written this workaround, but it doesn’t work for this application. To fix this upside down display, it is common to add lcd_rotate=2 to the [all] section of /boot/config.txt, but this does not solve the problem for my Raspberry Pi. In that case, comment out the dtoverlay=vc4-kms-v3d line in /boot/config.txt (Add # at the beginning) to turn off the video accelerator, and it enables us to take effect the lcd_rotate statement. Furthermore, if we add display_lcd_rotate=0x10000, mirror image display is also possible. We can also add dtoverlay=rpi-ft5406,touchscreen-inverted-x to match the touch position and display position of the panel. However, when I turned off the video acceleration like this, the camera was not able to shoot.
[0:00:48.605058262] [1503]  INFO Camera camera_manager.cpp:299 libcamera v0.0.2+55-5df5b72c
[0:00:48.689807637] [1506]  INFO RPI raspberrypi.cpp:1425 Registered camera /base/soc/i2c0mux/i2c@1/ov5647@36 to Unicam device /dev/media3 and ISP device /dev/media0
[0:00:48.691469407] [1503]  INFO Camera camera.cpp:1026 configuring streams: (0) 1296x972-YUV420
[0:00:48.692088574] [1506]  INFO RPI raspberrypi.cpp:805 Sensor: /base/soc/i2c0mux/i2c@1/ov5647@36 - Selected sensor format: 1296x972-SGBRG10_1X10 - Selected unicam format: 1296x972-pGAA
[0:01:00.994665132] [1503]  INFO Camera camera.cpp:1026 configuring streams: (0) 2592x1944-YUV420 (1) 2592x1944-SGBRG10_CSI2P
[0:01:00.999886174] [1506]  INFO RPI raspberrypi.cpp:805 Sensor: /base/soc/i2c0mux/i2c@1/ov5647@36 - Selected sensor format: 2592x1944-SGBRG10_1X10 - Selected unicam format: 2592x1944-pGAA
[0:01:08.415809452] [1506]  WARN V4L2 v4l2_videodevice.cpp:2007 /dev/video0[12:cap]: Dequeue timer of 2130000.00us has expired!
[0:01:08.416135910] [1506] ERROR RPI raspberrypi.cpp:1887 Unicam has timed out!
[0:01:08.416231952] [1506] ERROR RPI raspberrypi.cpp:1888 Please check that your camera sensor connector is attached securely.
[0:01:08.416323931] [1506] ERROR RPI raspberrypi.cpp:1889 Alternatively, try another cable and/or sensor.
ERROR: Device timeout detected, attempting a restart!!!
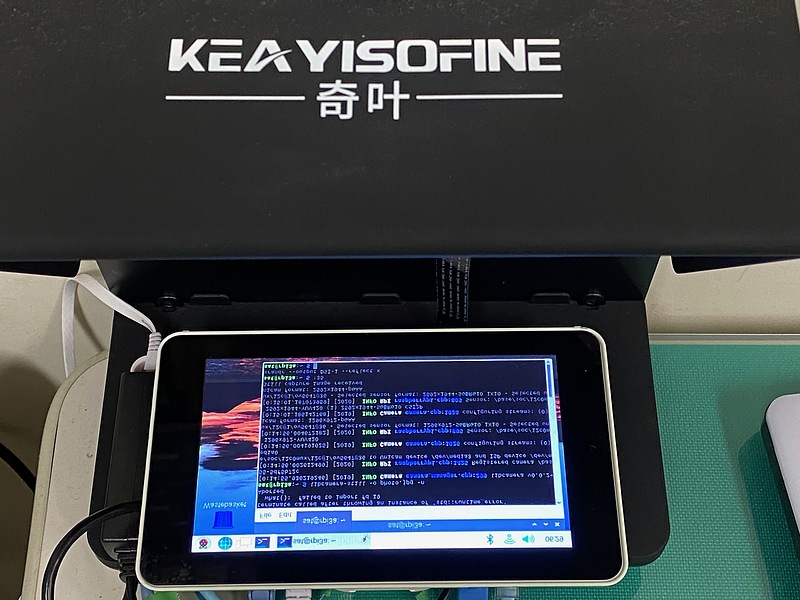
Therefore, use the GUI menu to flip it upside down to display it correctly, and then use the xrandr command to display the mirror image when using the teleprompter. The contents of the ~/.config/monitors.xml file automatically set when the GUI menu is turned upside down are as follows. The point is adding the line <rotation>upside_down</rotation> to the XML file.
<monitors version="2">
  <configuration>
    <logicalmonitor>
      <x>0</x>
      <y>0</y>
      <primary>no</primary>
      <monitor>
        <monitorspec>
          <connector>DSI-1</connector>
          <vendor>unknown</vendor>
          <product>unknown</product>
          <serial>unknown</serial>
        </monitorspec>
        <mode>
          <width>800</width>
          <height>480</height>
          <rate>59.928</rate>
        </mode>
      </monitor>
      <transform>
        <rotation>upside_down</rotation>
      </transform>
    </logicalmonitor>
  </configuration>
</monitors>
For a mirror image run xrandr --output DSI-1 --reflect x. This mirror display setting doesn’t seem to be saved in monitors.xml, so you have to enter it every time you restart. Also, with this method, the touch position on the panel does not match the screen position. This is an issue for the future.
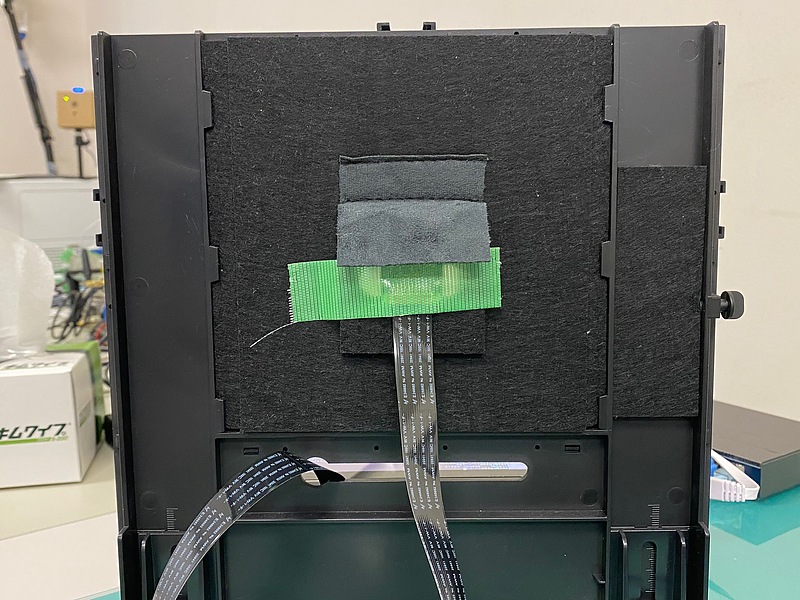
Use of camera
Secure the Raspberry Pi camera module to the back of the teleprompter. The ribbon cable attached to the camera module was not long enough, so I purchased a longer ribbon cable separately.
The cameras that can be used from the OS can be checked with libcamera-hello --list-cameras.
libcamera-hello --list-cameras
Available cameras
-----------------
0 : ov5647 [2592x1944] (/base/soc/i2c0mux/i2c@1/ov5647@36)
    Modes: 'SGBRG10_CSI2P' : 640x480 [30.00 fps - (0, 0)/0x0 crop]
                             1296x972 [30.00 fps - (0, 0)/0x0 crop]
                             1920x1080 [30.00 fps - (0, 0)/0x0 crop]
                             2592x1944 [30.00 fps - (0, 0)/0x0 crop]
To take a still image, use the libcamera-still command. The video shooting command is libcamera-vid. These camera operation commands are installed as standard in the Raspberry Pi OS.
Here, we want to use the libcamera-vid command for streaming playback. Use the following command to send video streaming to port number 8888 (Reference: How to use the camera module on the new Raspberry Pi OS “Bullseye”, in Japanese).
libcamera-vid -t 0 --inline --listen -o tcp://0.0.0.0:8888
Let’s access this Raspberry Pi port number 8888 from VLC media player installed on another PC. Open tcp/h264://raspberrypi.local:8888 in VLC.
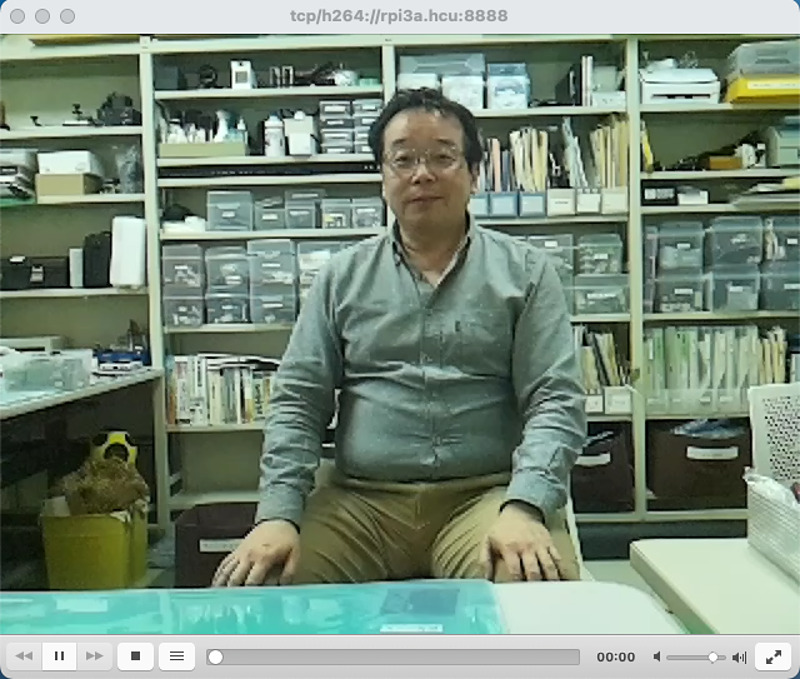
After that, we can use this as a teleprompter by displaying characters on this touch panel screen (Reference: How to Build a Raspberry Pi-Powered Teleprompter). I can use this touch display to show your own presentation slides or even implement device control functions like Elgato Stream Deck. So there is hope.
However, at present, there is a time delay of about 3 seconds before the image is displayed, and the practicality is not good enough.
Conclusion
For the time being, I was able to make my own teleprompter. I would like to solve two problems: the discrepancy between the panel display position and the touch position, and the time delay of the image display.