Setting up an iCloud custom email domain
Introduction
Email has become an indispensable part of our daily lives. In the past, it was possible to operate your own mail server and run mailing lists at home. Nowadays, due to measures against spam, the chances of emails sent from a home Internet connection or a VPS (virtual private server) being delivered are very low.
However, sometimes we want to have our own domain and use a different email address for each recipient, for example. In such cases, it is practical to use cloud services such as Amazon SES or Twillo SendGrid. I also use SendGrid to send emails, but sometimes the recipient’s server does not receive my emails. Therefore, I am considering using a fully managed email service.
Here, I will use Apple’s cloud service to send and receive emails from a domain name I have acquired. If you own an Apple device (Mac or iPhone), you can subscribe to the cloud service iCloud+. I have subscribed to the “iCloud+ 200GB storage” plan in Japan. I used this to set up a custom iCloud email domain.
I’m happy that I can use this service only for email and continue to manage the other parts myself, such as the web, as I have done in the past.
First half of setting up your iCloud custom email domain
This time, I purchase a domain for experimentation from 123cheapdomains.com, which I have been using until now, and set up email for that domain. You can also purchase a domain through the iCloud custom email domain settings.
You can set it up from either your Mac or your iPhone. When setting up from a Mac, you use the web, but when setting up from an iPhone, you use the Settings app. Here, from the Mac’s Control Panel, click iCloud, then Custom Mail Domains, and set up your custom mail domain on the iCloud website.

iCloud+ also has a “hide my email” feature that allows you to create a random email address in the icloud.com domain and use it to send and receive emails.
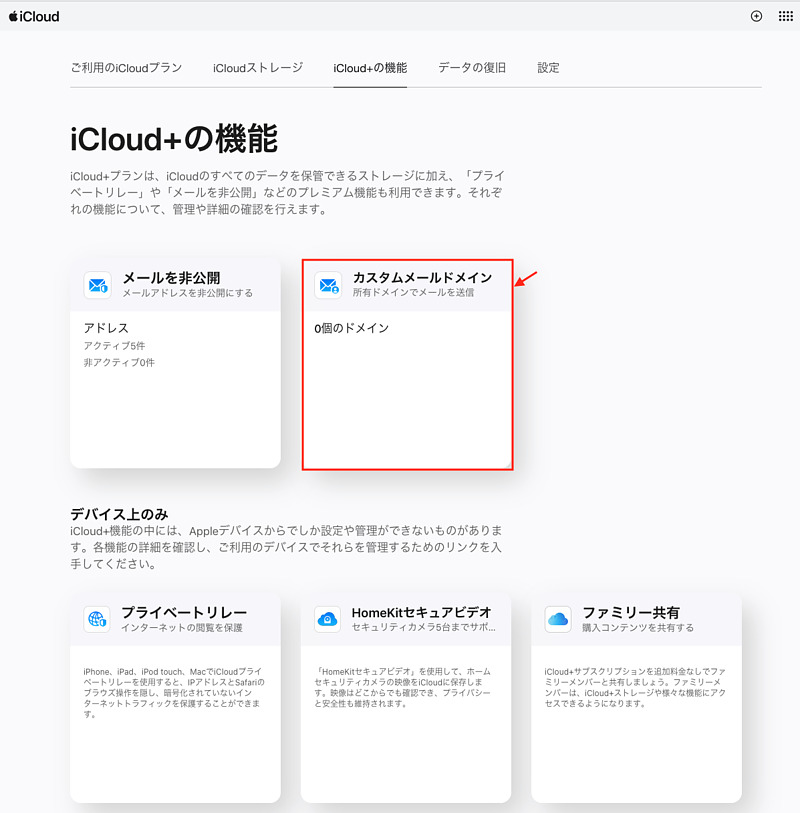
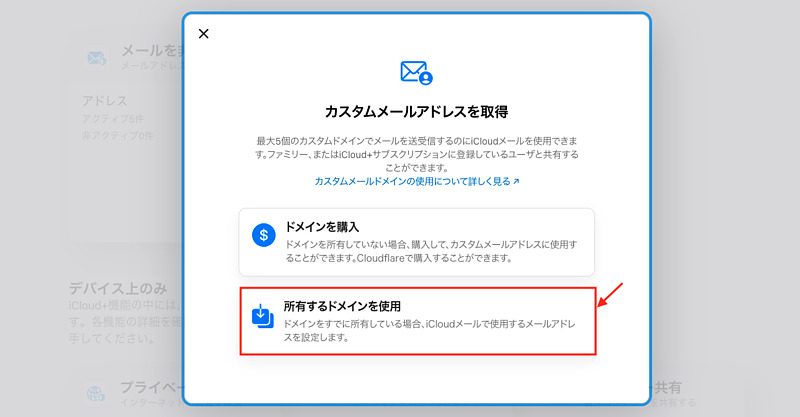
If this is your first time using the custom email domain feature, you will be shown detailed instructions on how to purchase a domain or use a domain you already own. Here, you will choose to use a domain you already own.
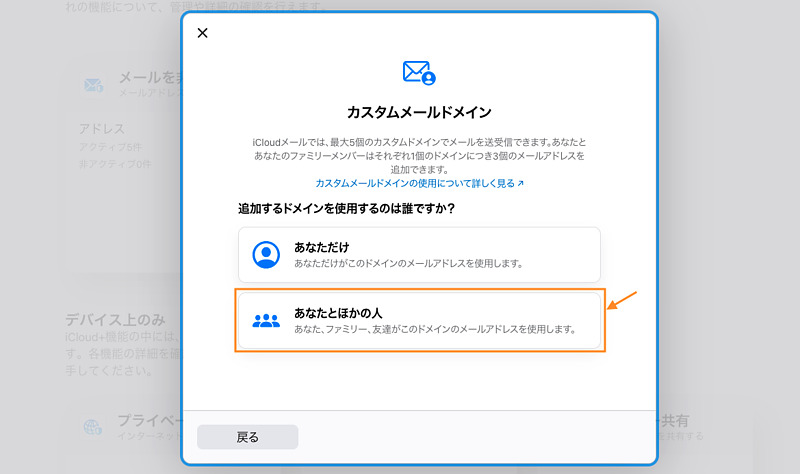
Next, the user is asked which domain they want to use. Here, I chose the more general option, “You and others.”
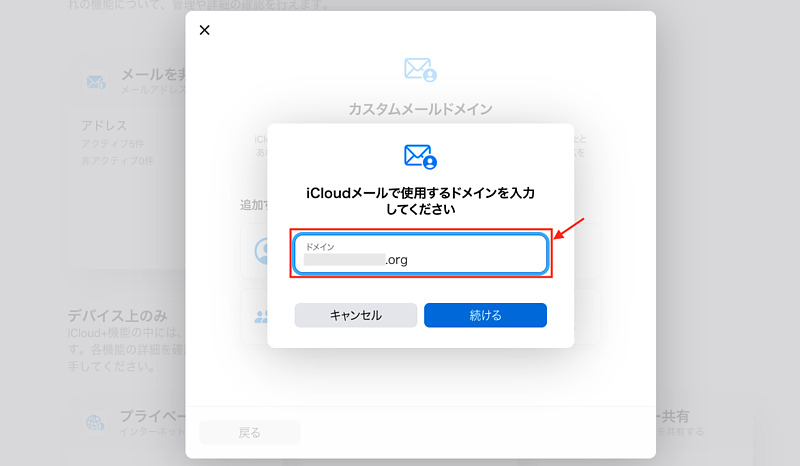
Then enter the custom email domain name we want to use.
Next, we can set each individual’s email address. If we are using Family Sharing, the administrator can set everyone’s email addresses here.
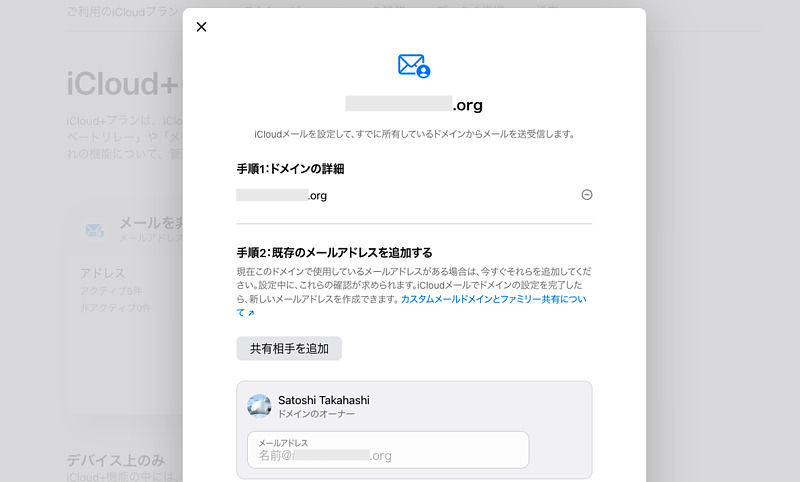
We can add your own email address later, so here I selected “I don’t have an email address.”
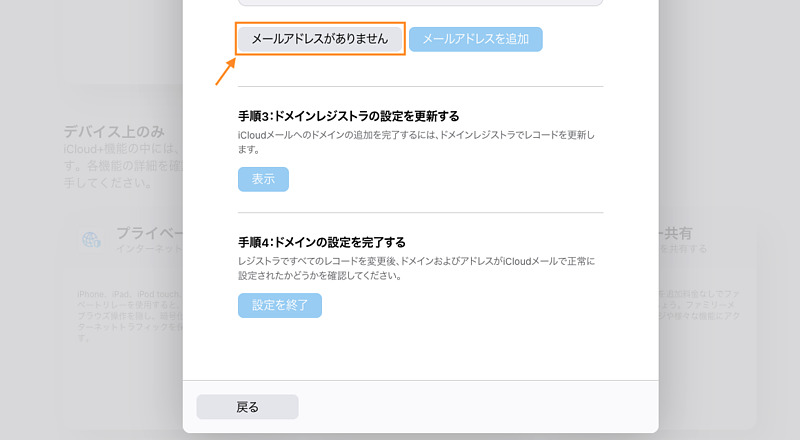
Next, you will need to configure your domain registrar (where you purchased your domain).
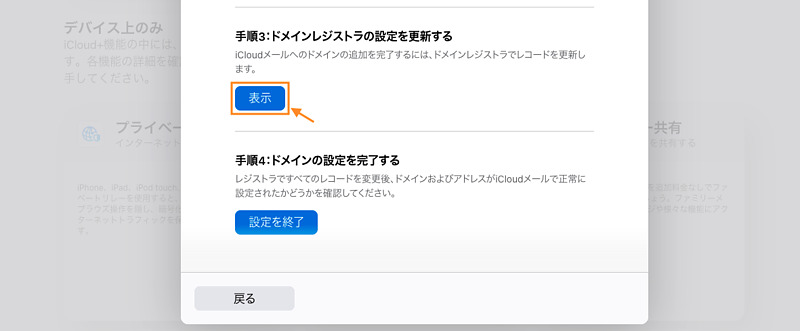
This setting can be broadly divided into three types of information:
- Mail delivery server settings (MX: mail exchange),
- Settings to show Apple that you own the domain (TXT: text), and
- Settings to allow the recipient to receive email sent from that domain (SPF: sender policy framework, DKIM: domain keys identified mail).
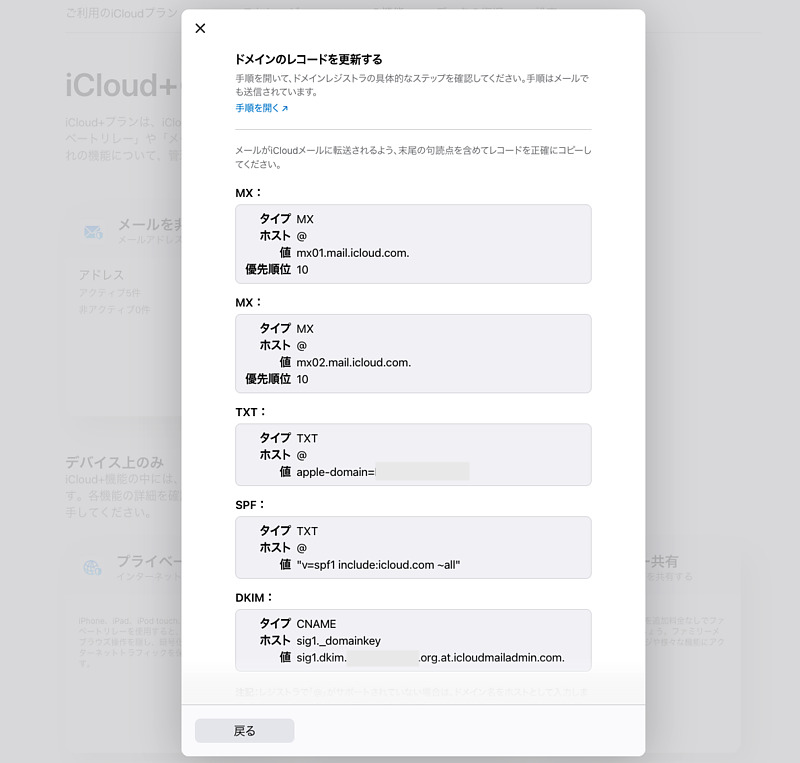
Set these in your DNS (domain name service).
DNS settings at your domain registrar
You can also operate your own DNS server using nsd or PowerDNS. Here, we used the DNS server provided by the aforementioned 123cheapdomains.com for its customers. This setting is done from a dedicated website. Such settings may differ depending on the registrar.
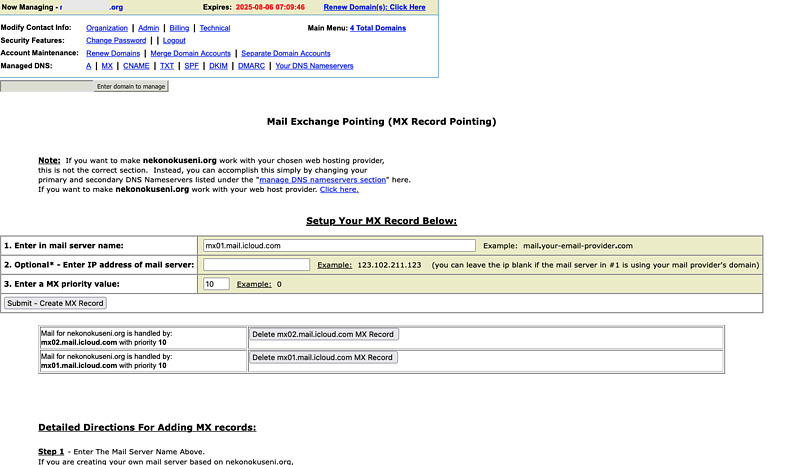
First, I set up two MX records. I entered the specified address, set the priority (both here are 10), and pressed the Submit button. Repeat this for the two specified addresses.
Next, set up TXT, SPF, and DKIM. These are all set with TXT records. You do not need to use the setting menu for, say, SPF. Enter the specified information and press the Submit button.
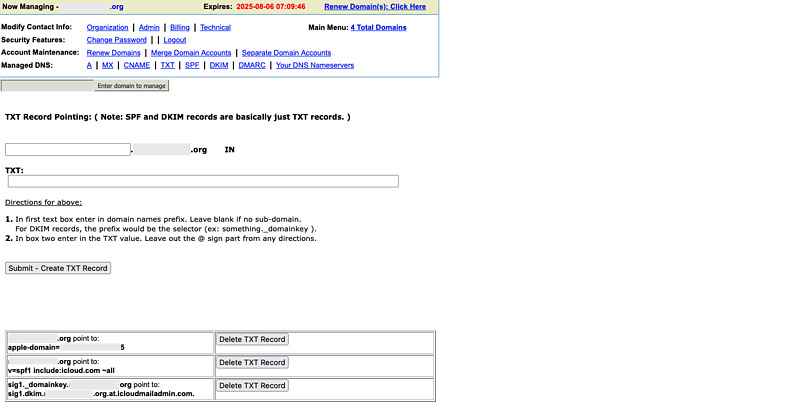
The information provided by Apple says to set up DKIM with a CNAME (canonical name, alias) record. This CNAME value must have a dot . at the end of the value to represent an alias to another domain server. However, the 123cheapdomains.com website setting screen rejected the CNAME value with a dot. I was at a loss, but when I set it up with a TXT record, the next validation also passed and I was able to send and receive emails. DKIM can be set up with either CNAME or TXT for some reason.
DKIM is written in a TXT record. Then, you can look up the TXT record referenced by this CNAME record using, for example, dig as:
dig sig1.dkim.****.org.at.icloudmailadmin.com txt +short
sig1.dkim.***.org.at.icloudmailadmin.com.
"v=DKIM1; k=rsa; p=MIIBIjA..." "EItQk..."
Set the host part sig1._domainkey as the key and the quotation mark content "v=DKIM1; k=rsa; p=MIIBIjA..." "EItQk..." as the value in a TXT record. (Corrected 2025-03-09)

Continuation of setting up your iCloud custom email domain
Here, press Apple’s “Finish Setup” button and it will validate these DNS settings. If there are any errors, fix any DNS records it finds out and press “Finish Setup” again.
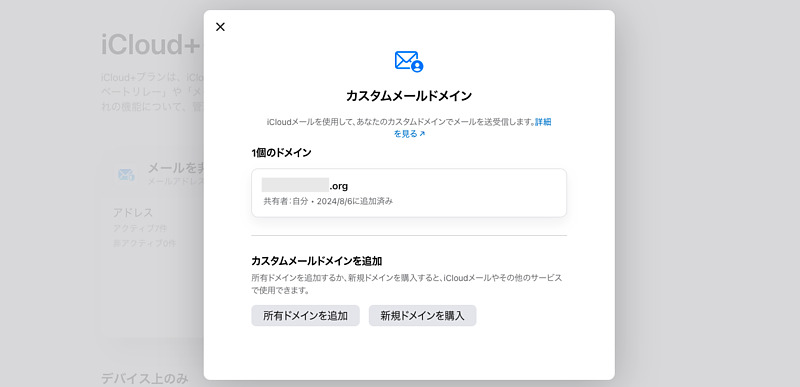
Once you’ve set up your custom domain, it’s ready to use. If you go back to the custom email domain page on your website, you’ll see the domain you just added. Click on this domain name to add an email address to it.
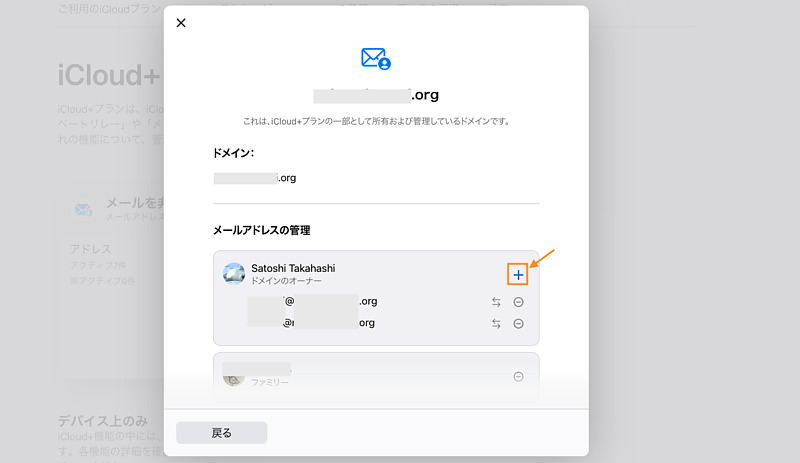
You can add as many email addresses as you want to yourself by clicking the plus + sign. You can then use this email address in the Mail app on your Mac or iPhone.
Each person adds their own email address in a similar way.
You can also add an email address on your iPhone by opening the Settings app and selecting iCloud.
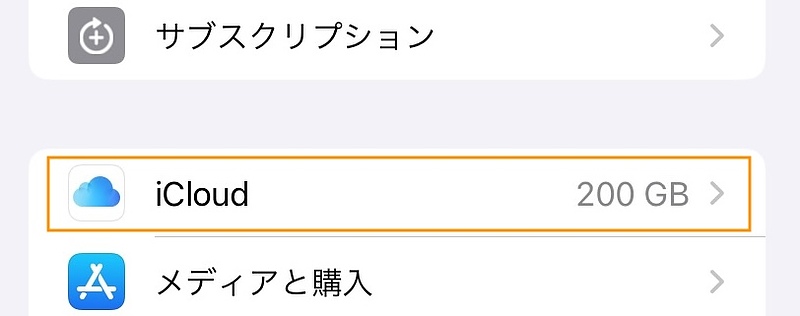
Then click on Custom Email Domain.
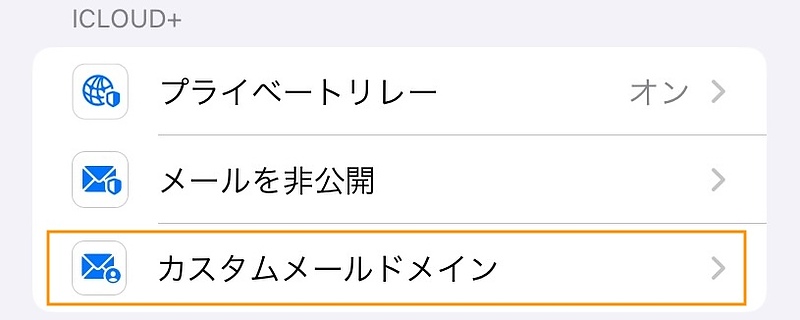
Available domain names will be displayed, so click on the domain name.
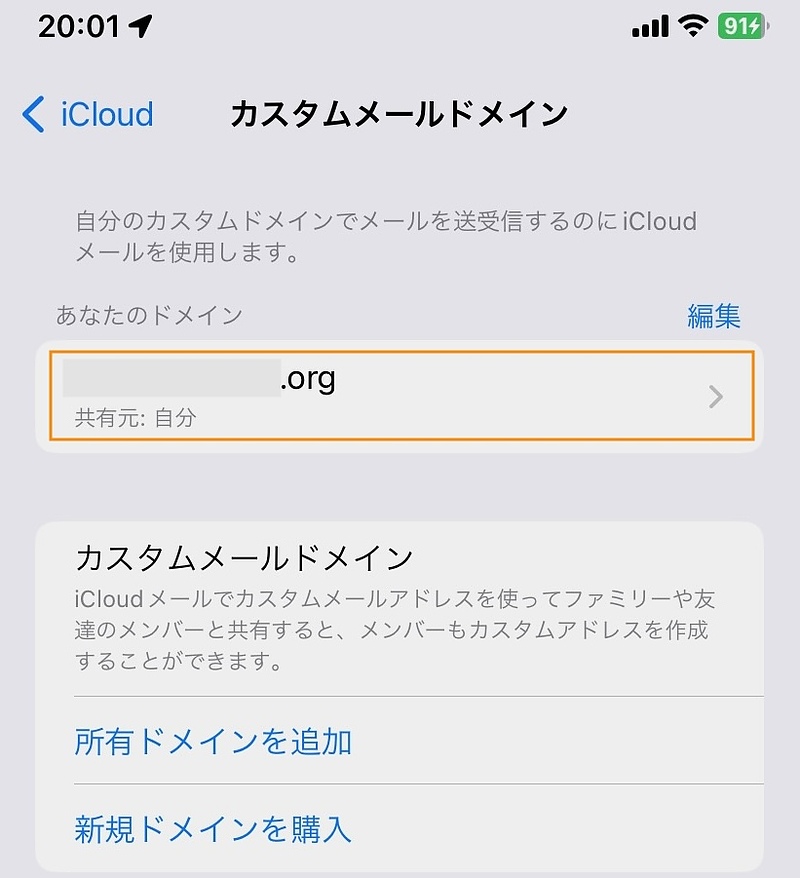
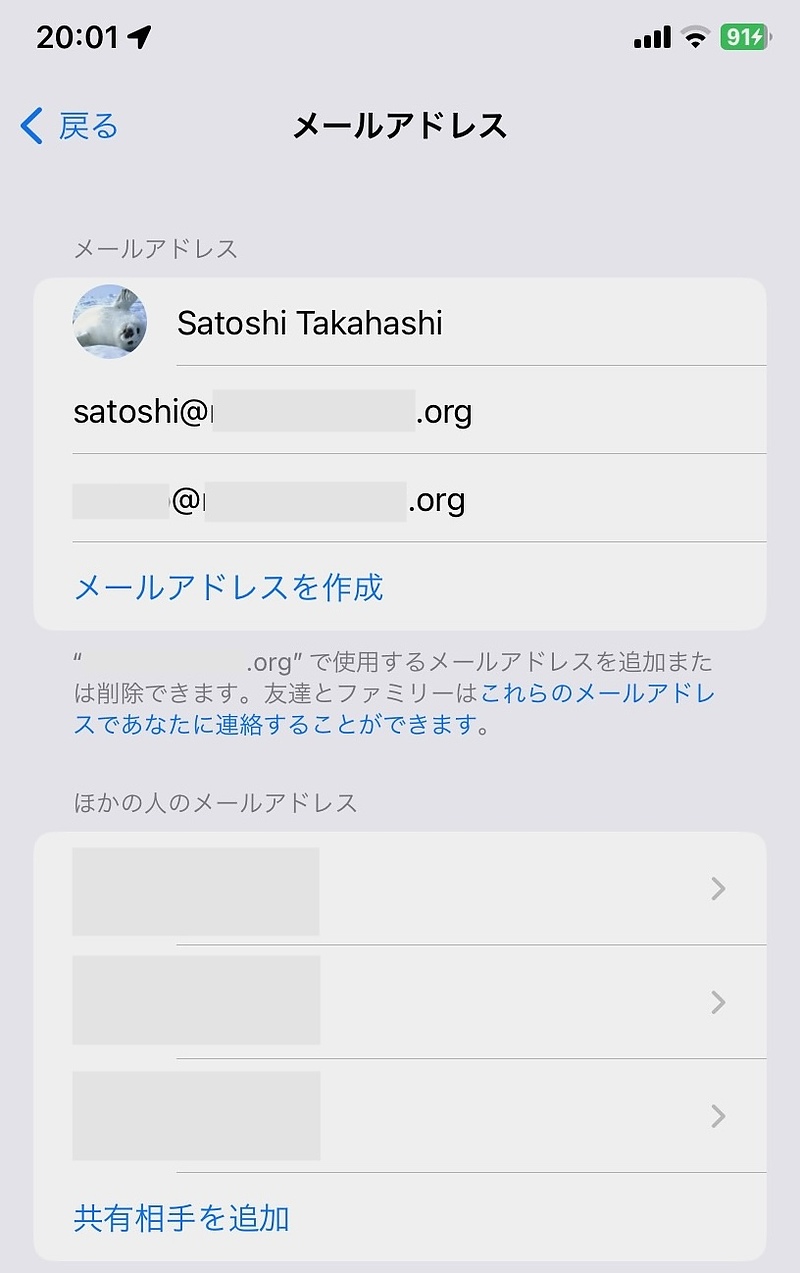
From here, you can manage your own email addresses by clicking Manage Email Addresses.
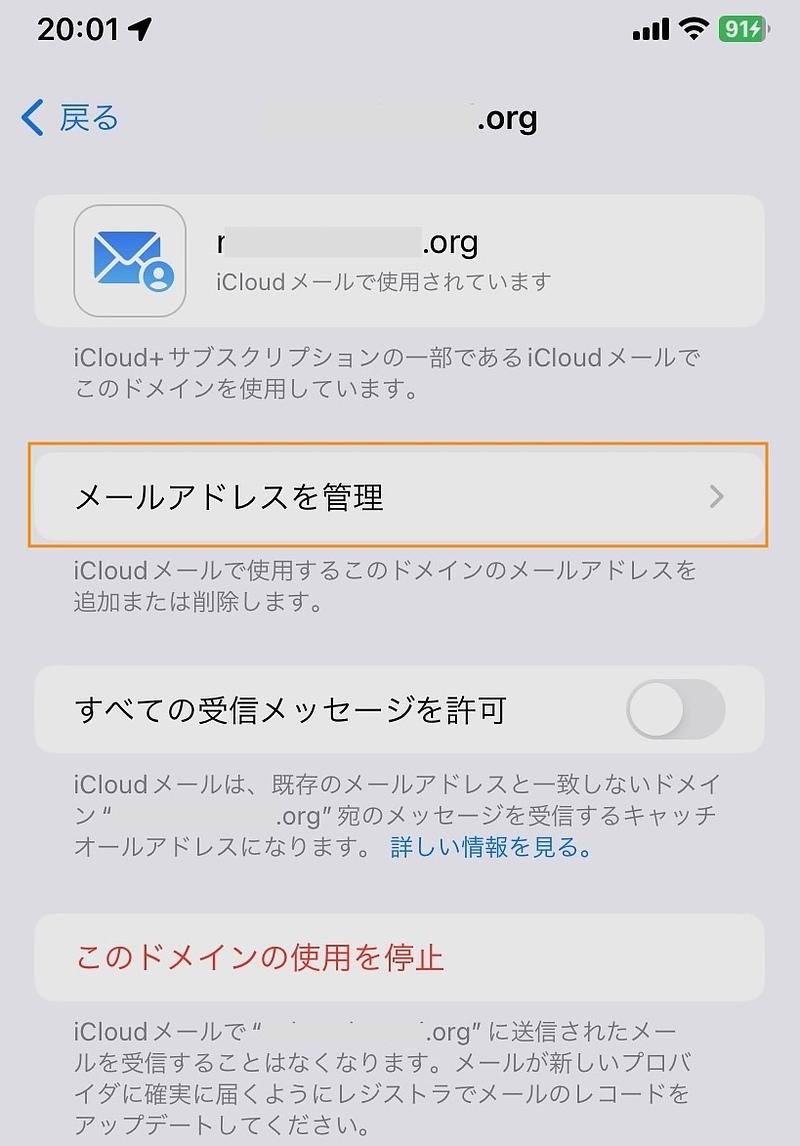
You can create and delete email addresses. Although it may seem like you can manage other people’s email addresses, you can only remove their domain permission. Other people must manage their email addresses themselves.
Conclusion
I used the custom email domain service on Apple’s iCloud+. I like the fact that there are no restrictions on other uses of the domain. I can operate the DNS and web server myself.
On the other hand, there are some concerns, such as the difficulty of transferring emails when the service ends, the difficulty of using it from devices other than Apple, the inability to use it from any email client, and the inability to sort and process emails in detail like with procmail.
However, the appeal of such a fully managed service is that it is easy, secure, and very inexpensive to use. However, since the environment surrounding email has changed dramatically, it may be that these concerns will have to be given up.